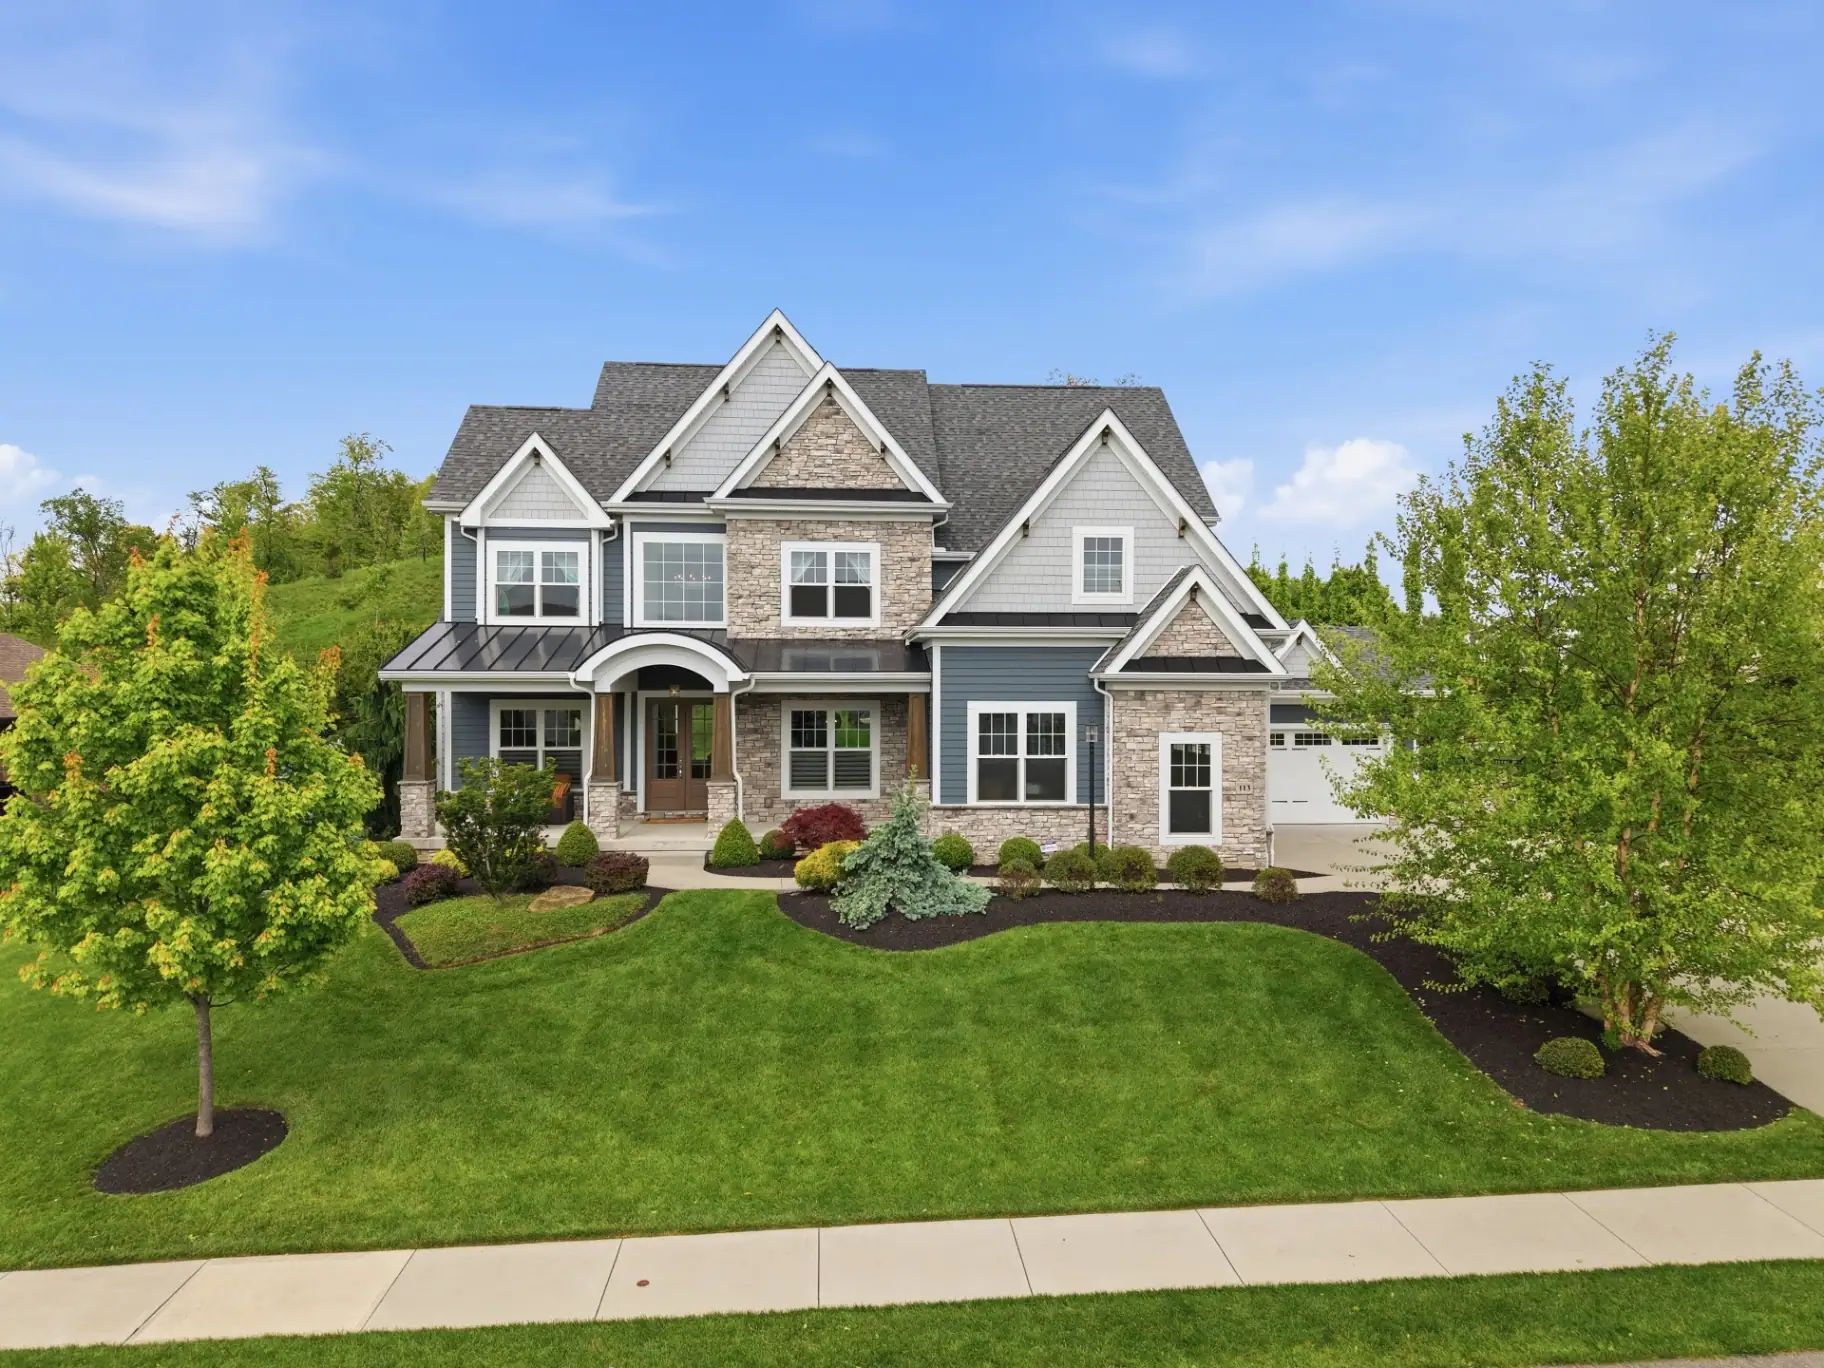
The best listing photos are mostly won before the photographer arrives. A clean, decluttered, well-lit home gives the photographer the raw material to make great images, while a cluttered or dim home limits how good the final result can be. This is the master guide; share it with every seller as soon as the listing is signed.
The essentials, in order
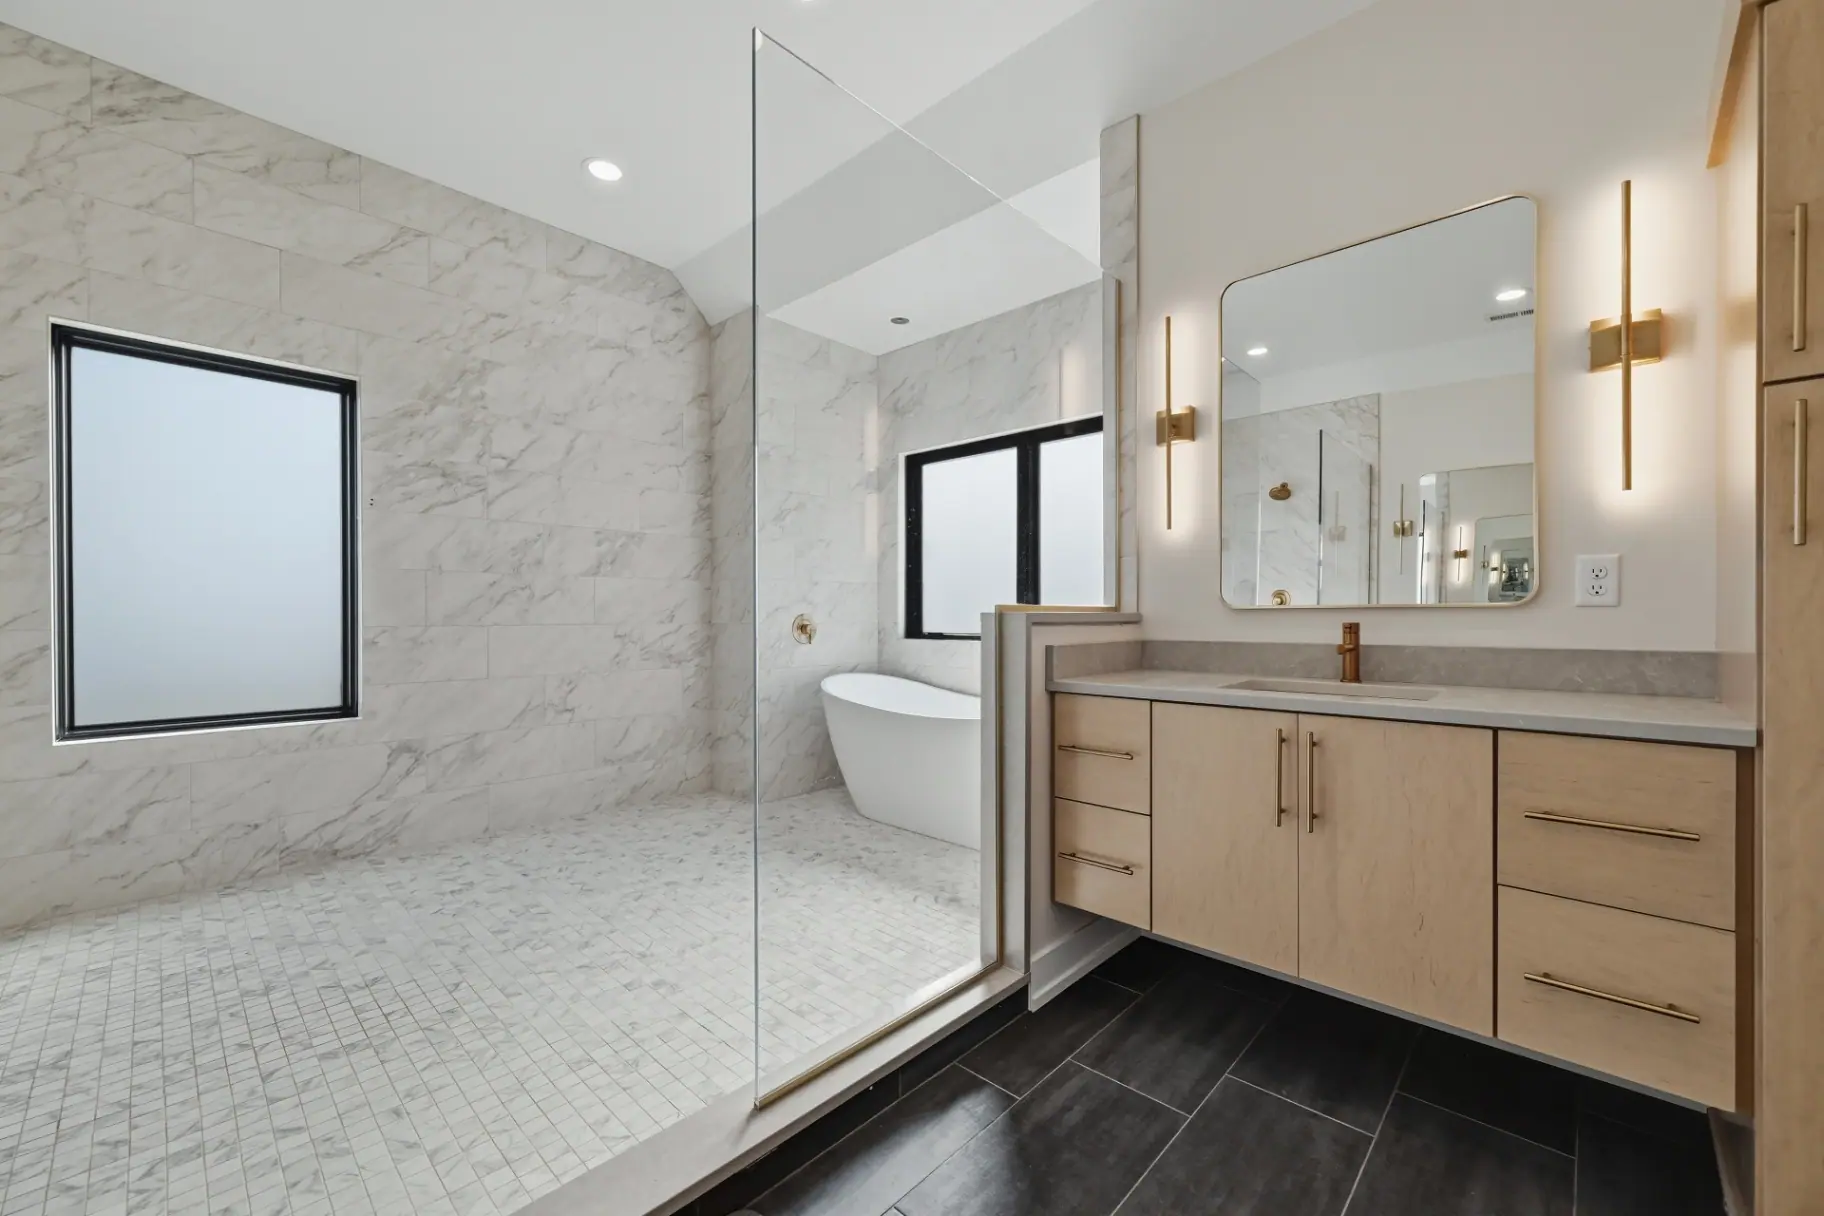
- **Declutter every surface.** Counters, tables, and vanities should be nearly empty. Clutter reads as less space.
- **Depersonalize.** Pack away family photos and personal items so buyers can picture themselves there.
- **Maximize light.** Open every shade, turn on every light, and replace burned-out or mismatched bulbs.
- **Deep clean.** Floors, windows, mirrors, and fixtures should sparkle; the camera sees everything.
- **Stage the details.** Made beds, fresh towels, squared pillows, and a touch of greenery make rooms feel finished.
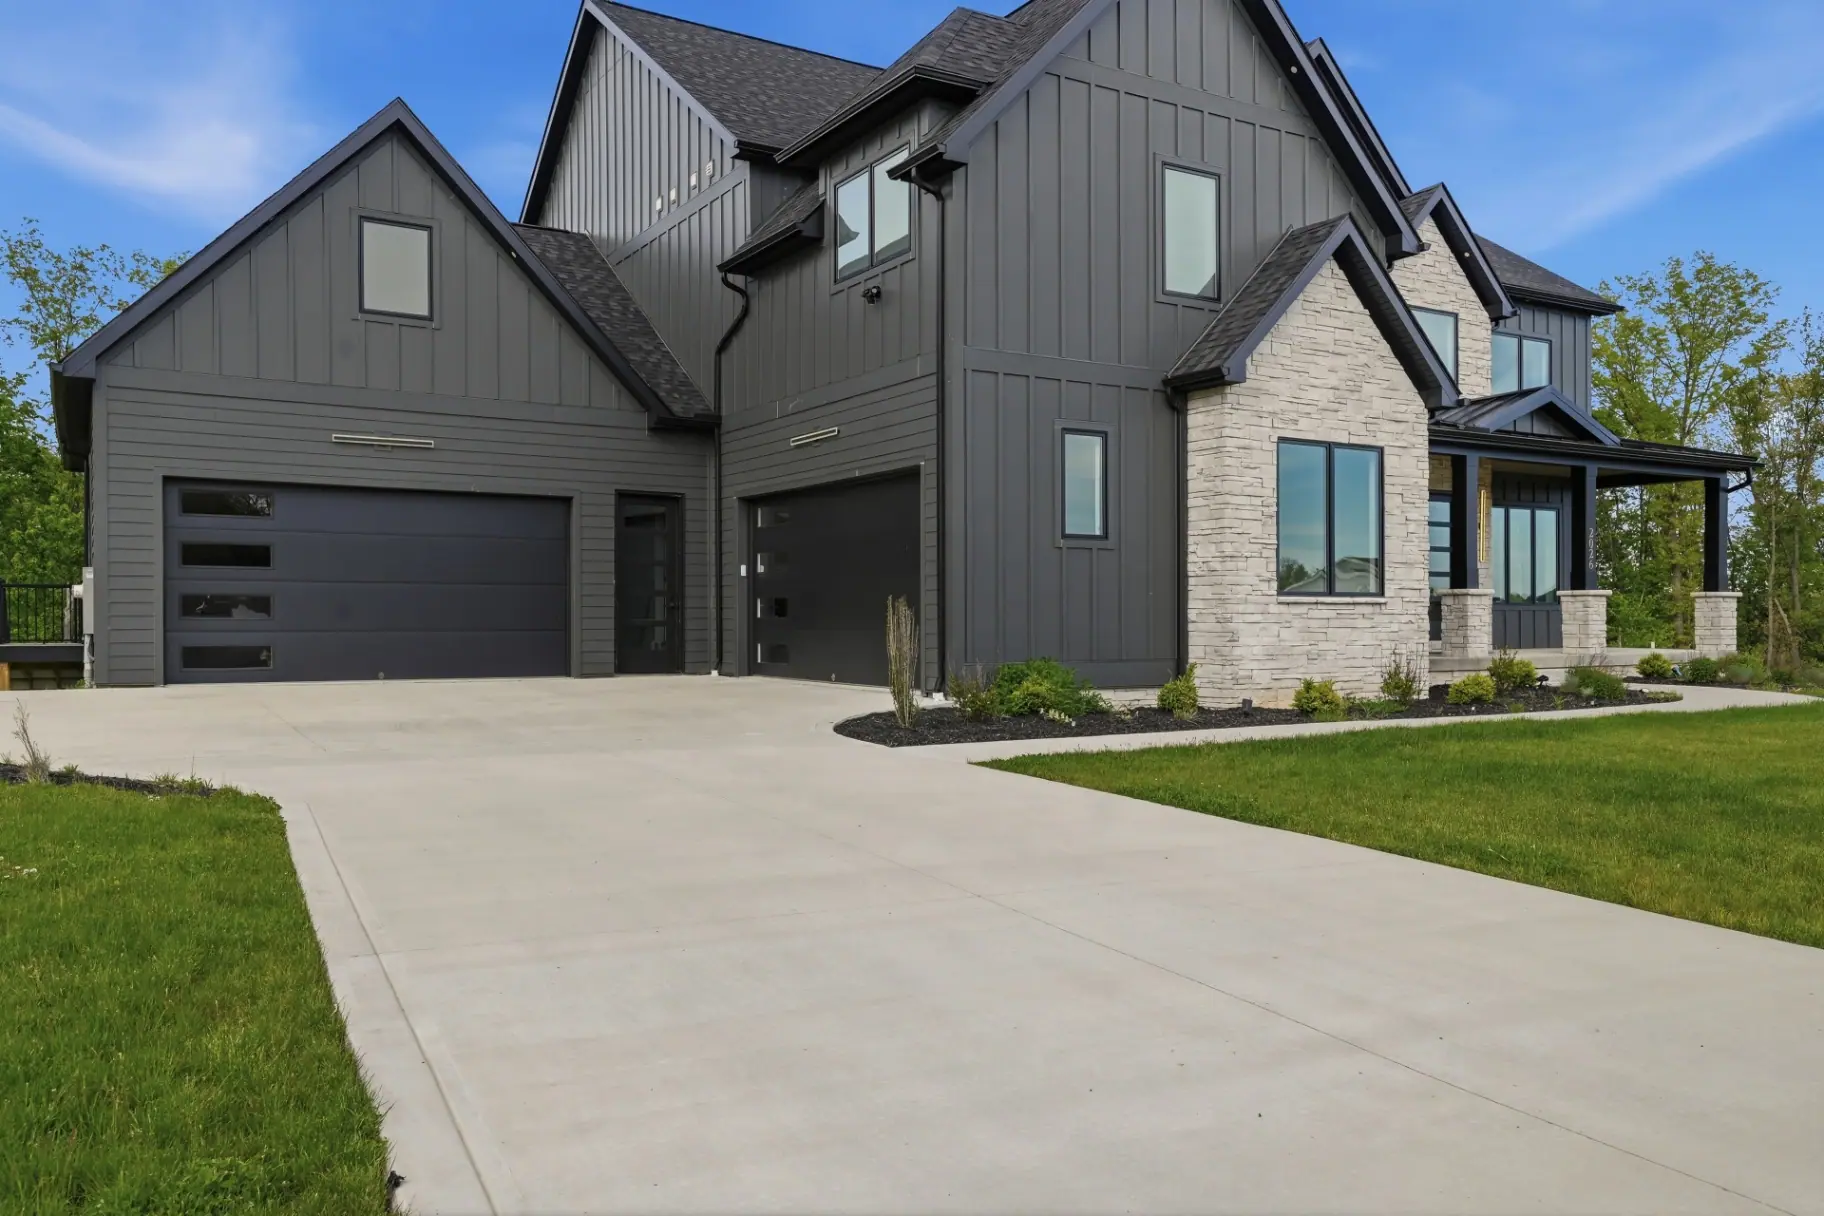
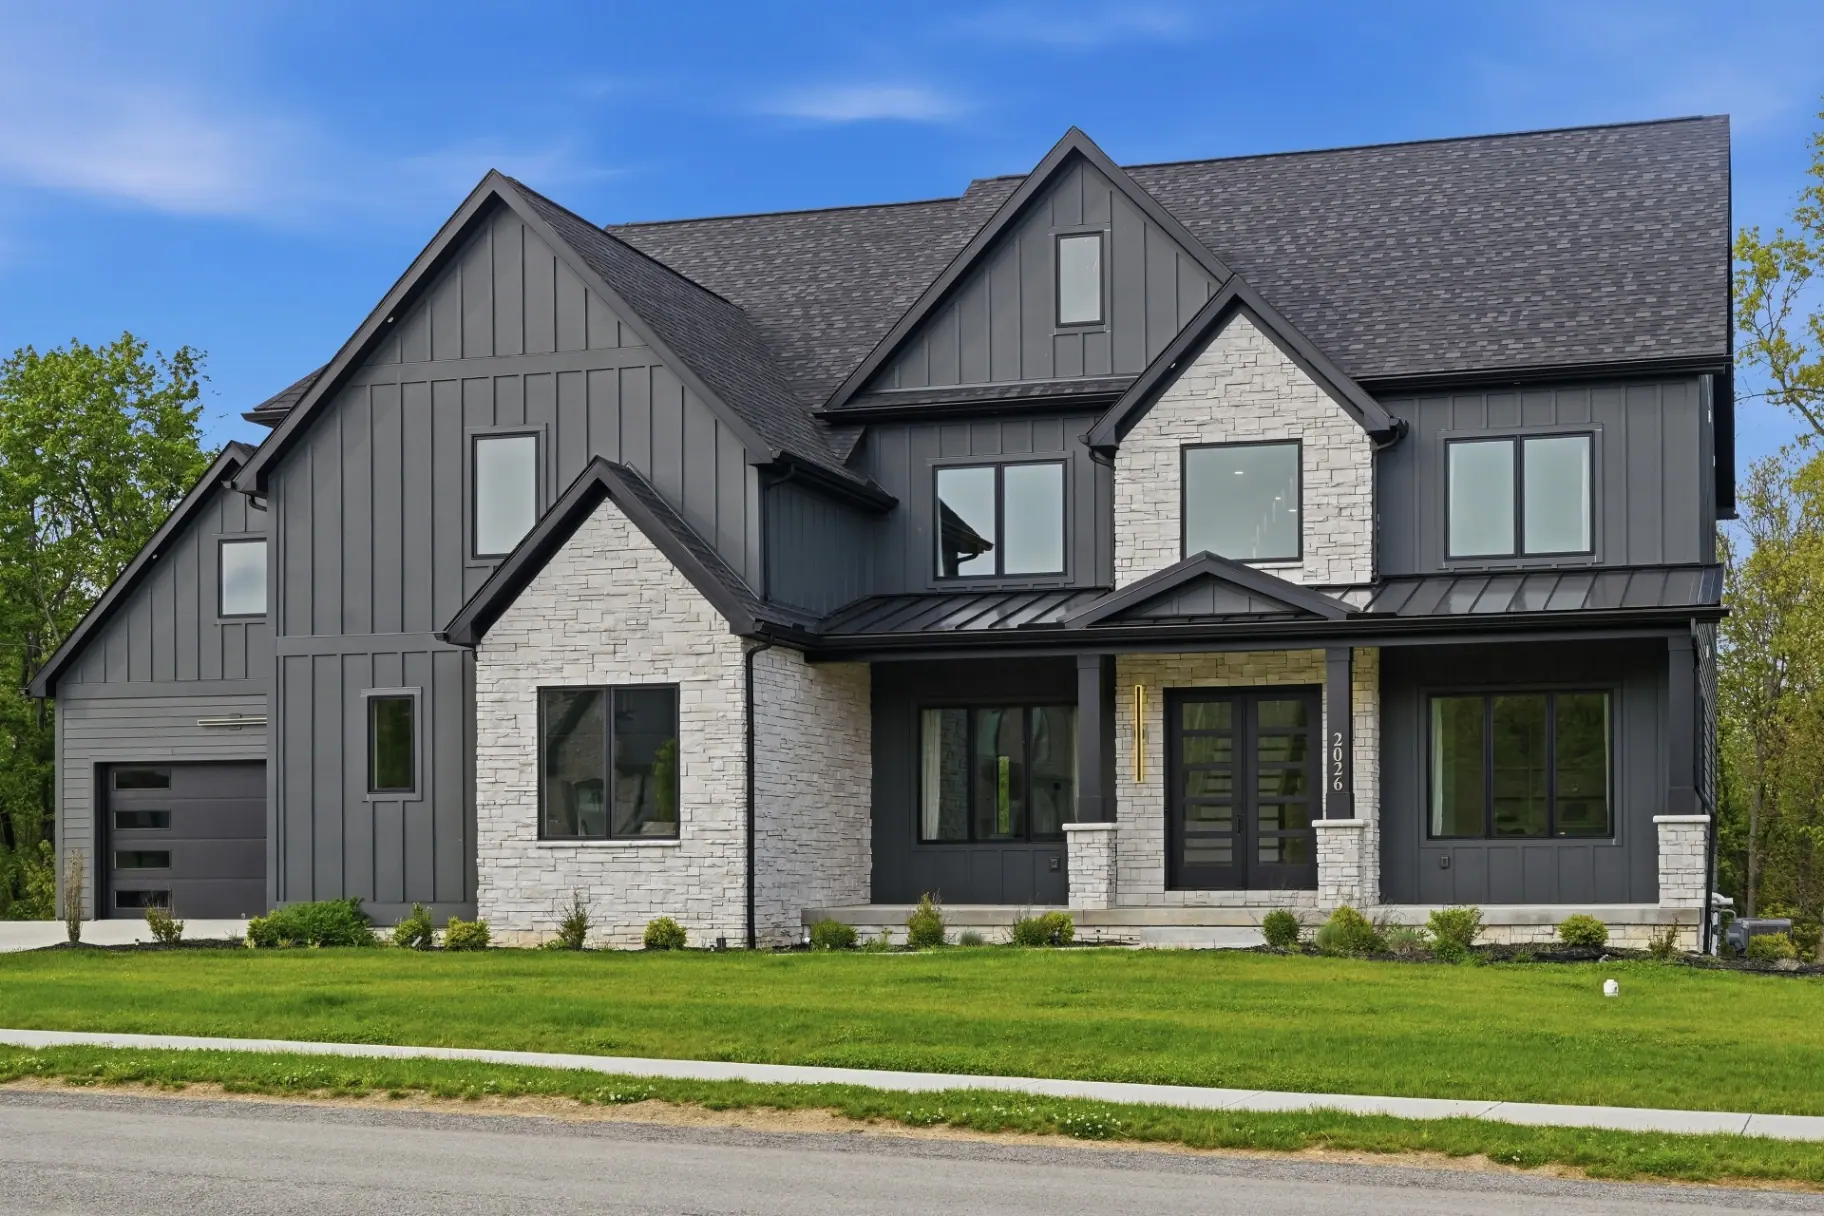
- **Handle the exterior.** Cars out of the driveway, bins hidden, hoses coiled, yard tidy.
- **Plan for pets.** Secure pets and remove bowls, beds, and toys from frame.
Why it pays off
Good prep doesn't just make prettier photos. It speeds turnaround, reduces reshoots and revision requests, and gets a stronger listing live faster. Build it into your onboarding and every shoot you order improves.
Frequently Asked Questions
How long does it take to prep a home for photos?
Most homes need a few hours of focused decluttering and cleaning, ideally spread over the day or two before the shoot, plus a final pass the morning of for lights, blinds, and the exterior.
Should the home be empty or staged for photos?
Neither extreme is ideal. A lived-in home should be decluttered and depersonalized; a vacant home often benefits from staging, physical or virtual, so buyers can grasp scale and function.
Keep exploring